Devlog #4
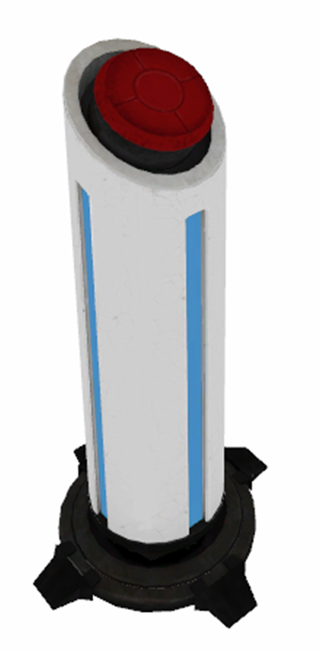


Devlog #4 Tall Red Button
The Process
Here I am, without any breaks this time, ready to get working on my next model.
This week I'm looked into making a different version of the button I made a week ago. I've realised during this process that it's only going to get easier as I progress with this project because I'm getting the process of making the models nailed down, and I'm able to reuse already made assets, as you'll see in a minute.
I started off tired this week, after putting so much time into the model last week I wasn't really energetic to get working on another one straight away, but I pushed through this and told myself that this one is simpler. We can finish this!

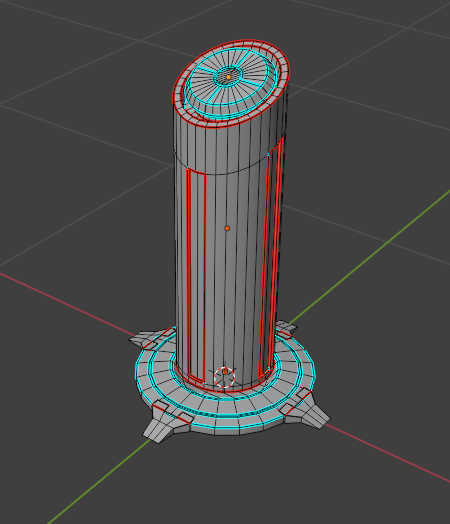
Once again, I looked for references. This was much easier this time because I knew already to look for the original model on Sketchfab first, then images later. I found a balance of both and used them to create my model. As I suspected, this models was super simple, just a tall cylinder with a base and a button on top. I extruded some faces for the blue lights on the cylinder and extruded the top face to fit the button. This felt so refreshing after completing such a complex model and within minutes, I had the main column done.
I realised I could reuse the red button model I had already made from the big one. I quickly imported my button model and deleted everything apart from the red button. This saved me from, what was essentially, making the same model again. I deleted the old textures and made sure the UVs look right before proceeding. After that I only had to do the base which was a simple circular design. In no time, I extruded a bottom, and then added the legs which were much simpler than what I had to do last week.
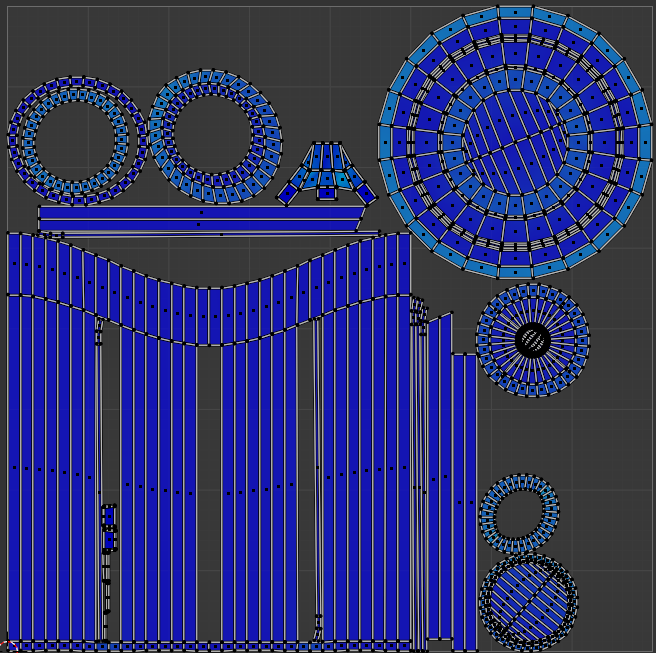
Because the model was so easy, the UVs were also a walk in the park, smooth like butter. After I got them in the bag, I moved on to fry some bigger fish - texturing.

Since I put so much time into making the materials last week, I decided I'm just going to use them again. Substance Painter allows you to save your layer folder as a smart material which saves within the program and allows me to reuse it later. I quickly opened my last week's file and saves my material and added it to this week's model. It was such a relief to discover this feature as it definitely saved me from making the same material again. It also has another bonus, as through this practice all of my models will be cohesive across the diorama.
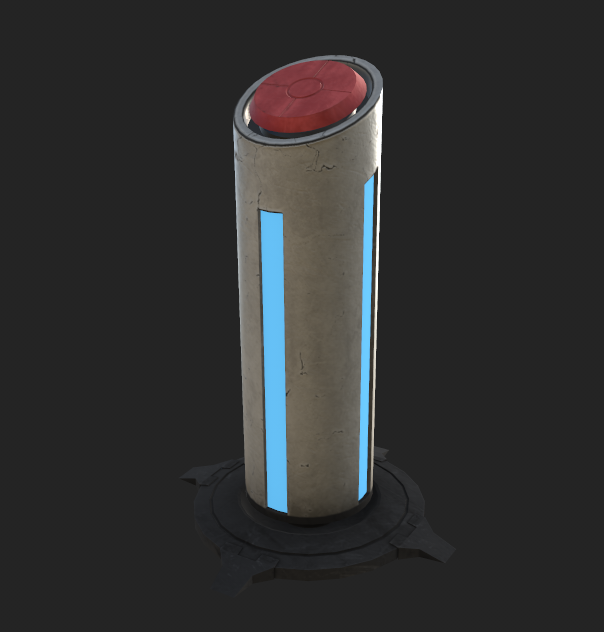
I did this whole model in within a much smaller time frame that last week, which was a great feeling and made me feel motivated to keep going with this project. The final look of this week's model is less overboard than last week, but still an insane improvement over my first model on this project.

The Evaluation
This week’s model was a much smoother experience, and I can already feel my workflow improving. The best improvement here was realizing how much I could reuse assets from my previous models, like the red button, and also how saving my folders as Substance Painter’s smart materials helps in speeding up texturing. That alone saved me a huge amount of time, and I know it’s something I’ll be relying on for the rest of the project. The model itself was way simpler, which made the whole process more efficient, but I also noticed that I approached it with a much more structured mindset which is something I didn’t quite have at the start of this project. The only downside is that because this model was so straightforward, I didn’t feel as challenged. However, at the same time, that’s a good sign that my skills are improving.
The Reflection
This week felt like a breath of fresh air compared to the grind of the Big Red Button. It was nice to have a model that didn’t require so much problem-solving, and instead let me focus on refining my workflow. Reusing assets and smart materials gave me a huge boost in efficiency, and that’s something I wish I had known earlier. Even though this model was less complex, I still feel like I made a ton of progress. I’ve noticed that my approach is getting more structured, and I don’t second-guess myself as much when modelling or texturing. The fact that I was able to complete this model so much faster has me feeling more motivated to keep going, and I’m excited to see how much more I can improve as I move forward.
Next week, I'll start making, what's probably the smallest model in this project, the radio.
Leave a comment
Log in with itch.io to leave a comment.